Performance Measurements: DPS vs Tanks

World of Warcraft has a section of the population known as theorycrafters, the most well known of these being Elitist Jerks. Theorycraft is about the mathematical deconstruction of the game, with the general intent being to optimize performance. Theorycraft, ultimately, is engineering for World of Warcraft.

With that in mind, we often use statistics to analyze performance. Damage Per Second is the standard for damage dealers, and is based on the average damage that a character generates in a period of time. We note that this is an average. Ultimately, if X is the damage done by a character, you want to get the Expected Value of X. I’m not going to go deeply into the philosophy of the matter, but it is very much my opinion that this is a reasonable statistic for damage dealers to optimize.

What about tanks, though? Should we be optimizing for incoming Damage Per Second? One can think of situations where this would be a bad indicator of survival. For example, suppose a boss hits for 60,000 unmitigated damage every 5 seconds. Suppose you have two tanks under attack by this boss. The first has 50,000 health, 50% damage reduction, and a 60% chance to dodge. This tank will take 2400 DPS. The second tank has 50,000 health, 0% damage reduction, and a 90% chance to dodge. This tank will take 1200 DPS, or half as much. Which of these two tanks is better? Incoming DPS would say the second tank, but a quick examination of the numbers says otherwise. A single hit will kill the second tank, but it takes two to kill the first tank. With healing in mind, the first take will probably survive the encounter, but the second is doomed.

This brings me to my point about tank measurements. Where DPSers should be concerned with averages, tanks should be concerned with variance. Spikes are what kill tanks. Minimizing, avoiding, and surviving spikes are the keys to survival for a tank. This is what makes theorycraft for this role so much more difficult. Where DPS can take an average, eliminating the need of finding the distribution, tanks can’t cut those corners.

Later this week, expect on article on the Markov chain (the mathematical method that is my character’s namesake). This matrix function can give a lot of very useful information about a tank’s survivability.

Tanking the Coliseum (Part 1: Northrend Beasts)

I’m starting my series on how to tank the bosses of the Trial of the Grand Crusader raid. I will specifically be covering the 25 man heroic version, since that’s the most challenging version. We begin with the Northrend Beasts encounter: a fight that will test your gear, your threat, and your movement. As most of you are aware, this fight features three phases, each with their own difficulties.

First, a test of vitality.

First, a test of vitality.

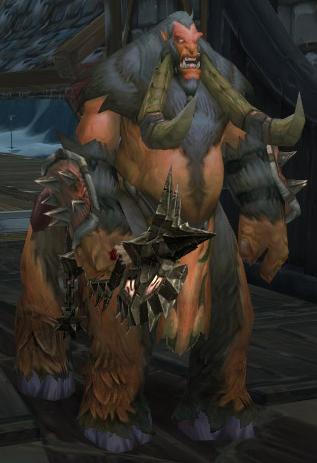
Gormok the Impaler will enter through the gates, and so begins the test of your effective health. There are a few abilities to keep in mind for Gormok. First, he hits hard. Second, he will cast Impale on you (Which is reduced by armor, so don’t forget armor in your effective health calculations). Third, he’ll be using Staggering Stomp to knock your ass down, preventing you from blocking for a few moments.

How do you deal with these nasty abilities? First off, you can use a two tank or a three tank rotation. I favor a three tank rotation, since it reduces the risk of a tank death, and three tanks can be helpful later on in the encounter. The next tank in the rotation should taunt as soon as the tank before them has two stacks of Impale (And the healers should be warned beforehand, so they can cook up some heals for the next tank). Glyph of Taunt can be a life saver here, since bad things will happen if you miss the taunt. Mocking Blow is a good back up, but not a guarantee by any means.

Keep an eye on the cooldown for Staggering Stomp. There is a big spike in damage right around the time that he stomps, since you can’t avoid the damage while you are standing up, and an Impale will be come in at about the same time. Blow a cooldown right before this happens. Shield Wall, Last Stand, or Juggernaut’s Vitality can really save your life here. Incidentally, I strongly recommend warriors to pick up Improved Disciplines and Glyph of Shield Wall for this fight.

After the boss goes down, call for a Hand of Protection to clean off Impale if you have 2+ stacks. Get ready for the worms.

Next, a test of dexterity.

Next, a test of dexterity.

There are two roles here for tanks. You can either be the mobile tank, or the immobile tank.

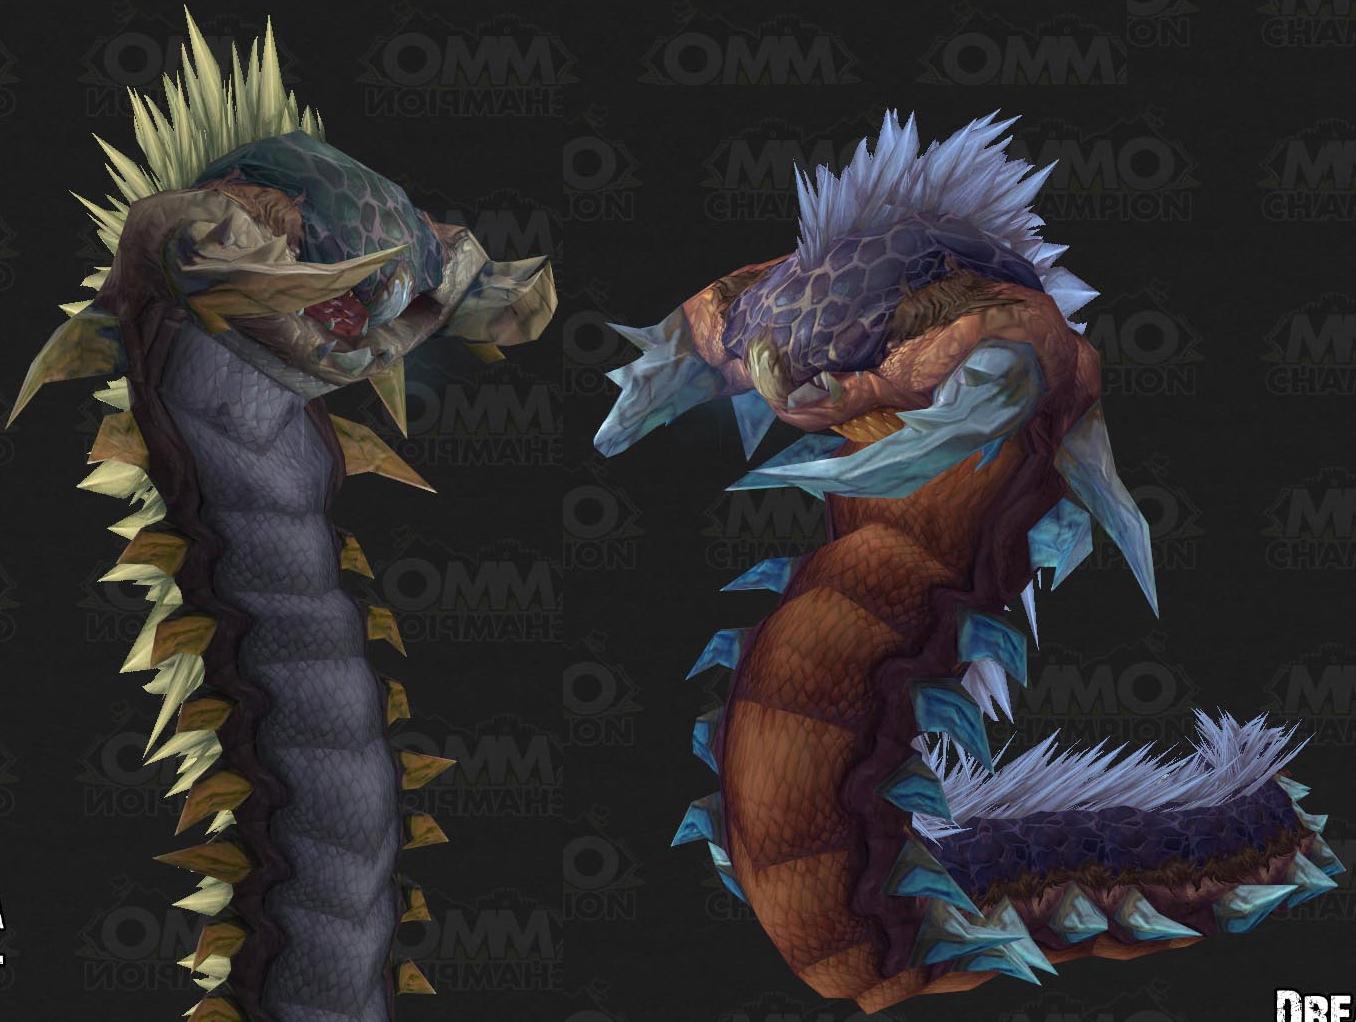
The immobile tank will tank the Jormungar that isn’t moving around, whichever one that is. The main goal here is to keep damage off your DPS and healers while they take down the boss. It really isn’t a hard job, but it’s helpful.

Two mobile tanks will take care of the moving Jormungar. If melee are attacking this mob, the tank needs to kite the boss away from the acid clouds they leave behind them. It is important to remember that the boss must never face the raid, as the breath they have can be devastating. Remember that for the mobile worm (and only for the mobile worm), the tank will always be the target for Burning Bile or Paralytic Toxin. As a result, the two tanks will need to switch off on taunting the boss the allow the other tank to either cleanse the raid, or be cleansed. After Acidmaw is dead, this responsibility is gone.

Speaking of Acidmaw dying, be ready for the soft enrage. The stationary boss won’t hit too much harder, but the mobile boss can become a real pain. Those Improved Disciplines and Glyph of Shield Wall will suddenly come in handy. Pop a Shield Wall when you pick the enraged mobile worm up. Right about the time that ends, throw on Last Stand. That will give you 30 seconds of easy tanking before the next tank needs to taunt off you and use their own cooldowns. Time to get ready for Icehowl!

Finally, a test of strength.

Finally, a test of strength.

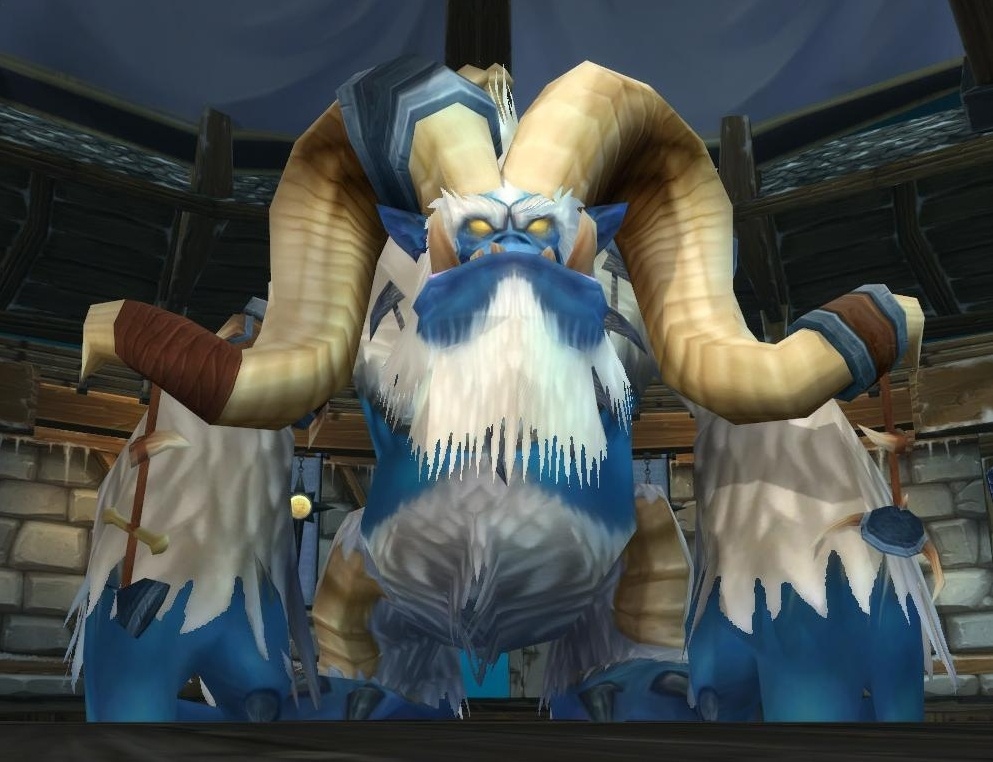
Now, Icehowl arrives. The first thing you should do is pick him up and move him toward a wall. You want to place yourself at about a 45º angle with him and the wall, so you won’t get knocked back much, but the melee can stand 90º around him to get the same benefit without being in his frontal arc. Icehowl does a lot of damage, but there isn’t much you can do to stop it. Take it like a man, and have any remaining cooldowns under your fingers for tense moments.

The main goal on Icehowl is to build threat. When Icehowl crashes into a wall (see WoWWiki for more on that ability) you need to keep aggro on him with DPSers doing massive damage. Warriors should save Bloodrage for this moment, to prevent rage starvation. Also, don’t forget that you can move Vigilance around in combat to micromanage threat.

On the next installment, I will cover how to tank Lord Jaraxxus. Be ready!

Trinkets are a Tank’s Best Friend

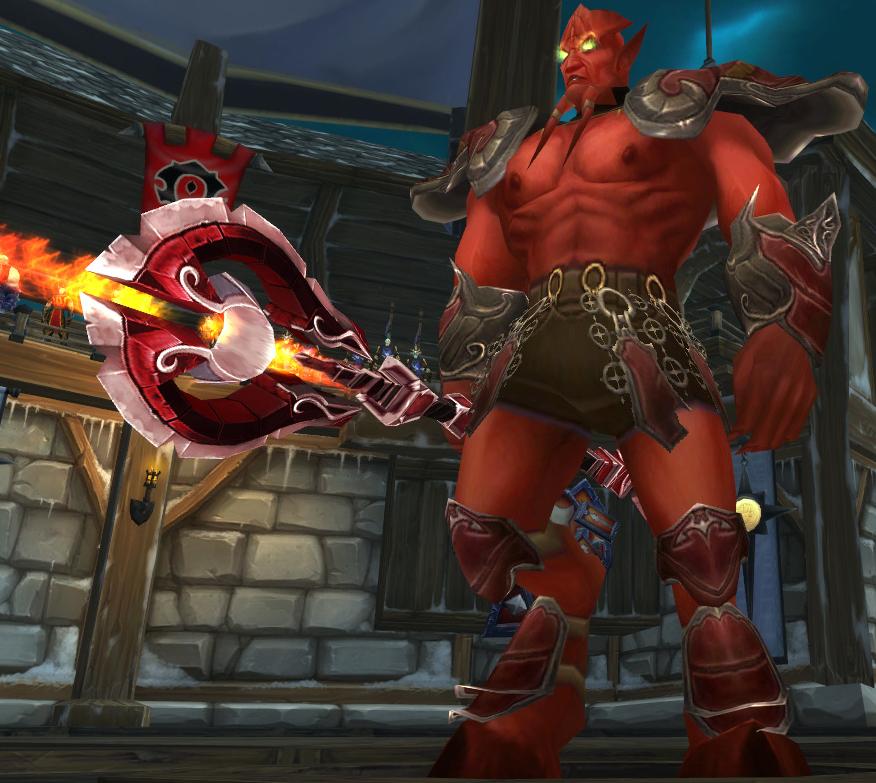
Jaraxxus hits like a kitten, but you want snap threat to position him. A hit trinket shines here.

Jaraxxus hits like a kitten, but you want snap threat to position him. A hit trinket shines here.

Trinkets are a very special kind of item. Unlike most gear, which has an assortment of stats, trinkets usually bring one stat in large quantities with a related “On-Use” ability. Where switching out a ring might give you -40 Stamina for +30 Hit, switching out a trinket might be -160 Stamina for +130 Hit.

A good tank knows that different fights call for different gear. For an Ulduar example, I Choose You, Steelbreaker (25 Man) requires a lot of Effective Health, while I Could Say That This Cache Was Rare (25 Man) will benefit from some serious threat. Keeping two different sets of gear up to date can be tough, though.

Gormok can make quick work of a tank. Stack Effective Health, but consider a glyph of taunt to avoid epic taunt fails.

Gormok can make quick work of a tank. Stack Effective Health, but consider a glyph of taunt to avoid epic taunt fails.

This is where trinkets shine. You can give up a big chunk of one stat for another. In my earlier example, Steelbreaker would be much easier with Heart of Iron, The Black Heart, or Glyph of Indomitability in that trinket slot, while Mark of Supremacy is an attractive option for Hodir. You know what you are giving up, and what you are getting in return. Moreover, the changes are big enough to matter. You aren’t quibbling over 0.5% hit. You are getting a juicy 4% boost.

Does it really make a difference, though? Anecdotal evidence says yes. In my last raid I went heavy on Effective Health for Northrend Beasts, packing my Juggernaut’s Vitality and Glyph of Indomitability for a one-two punch on health and armor stacking. It kept me alive, though I did suffer two untimely misses on Taunt, one of which I was able to save with Mocking Blow, but the other led to a wipe. For Jaraxxus, I switched to my threat spec, and switched in Mark of Supremacy for Glyph of Indomitability, since the damage spikes are fireballs (and armor doesn’t help with that). The change in glyphs, talents, and 4% hit, resulted in an increase of around 2k TPS, which is nothing to laugh at.

So, what sort of trinkets should you keep in your bag? My recommendation is this:

Effective Health

Stamina and armor will both help with the vast majority of boss damage. Juggernaut’s Vitality and Glyph of Indomitability are perfect examples of this sort of trinket.

Stamina Stacking

Sometimes armor won’t save you. Jaraxxus has a nasty fireball, that can ruin your day if it gets off. Juggernaut’s Vitality is still a good choice, but drop Glyph of Indomitability for Heart of Iron or something similar.

Avoidance

Usually not a strong option. However, there are rare occasions when not getting hit at all is much better than being able to take it. Eitrigg’s Oath and Purified Onyxia Blood Talisman hit all the right notes, here.

Threat

As a tank, you will probably find yourself short on either hit or expertise at any moment. Packing on a little more of either should help you connect when you need to, and build that threat your DPS desires. Mark of Supremacy and Vengeance of the Forsaken are great examples on either end of the spectrum. Watch out, though, since threat trinkets are DPS trinkets, and if you don’t moonlight as a damage dealer, people might get the wrong idea.

What is a Tank?

Keeping mobs under control is a tanks first job. Everything else you do is only to further that goal.

Keeping mobs under control is a tank's first job. Everything else you do is only to further that goal.

So, considering the subtitle of this blog “Musings of a Main Tank.” I think it’s worth musing about what a tank really is. Traditionally in World of Warcraft, you think of characters as having one of three primary roles: DPS, Tank, or Healing. This is a very damage centric categorization, as you are either dealing damage, healing damage, or taking damage. If you ask me, though, this is a clumsy way to look at things. Where does casting sheep fall into this categorization? What about offering buffs or debuffs? Couldn’t you remove “Taking Damage” and “Healing” from the list if you had enough control and damage? As such, I tend to think of a different set of roles. All-in-all you have four roles, that I would split up like so:

  • Dealing Damage
  • Buffing/Debuffing
  • Control
  • Healing

Where does tanking fit into this definition, though? It’s actually quite simple: Tanking is a form of control. Unlike casting a fear or a sheep, though, tanking is a form of control that is infinitely sustainable and allows others to damage the target. The downside of such a potent control is that it requires healing to sustain. Thus, as tanks, our goal should be to have complete control of the battlefield. If every mob is accounted for, and you aren’t at risk of dying or losing aggro (That is to say, your control is reliable) then you are doing your job.

A perfect example of this concept is tanking the Nerubian Burrowers in the Anub’arak encounter (especially on heroic mode). You want to keep them positioned over ice, next to the boss, while posing as little risk to the raid as possible. To do this, you get aggro on them, stack shield block to reduce their outgoing damage (and thus improve your chances of surviving and keeping them under control), and stand so they are near the boss on the ice. It’s essentially crowd control, except you are using your own positioning to root the mobs instead of a stun or a snare effect.

Subscribe to RSS

RSS POSTS RSS COMMENTS