Tanking the Coliseum (Part 1: Northrend Beasts)
I’m starting my series on how to tank the bosses of the Trial of the Grand Crusader raid. I will specifically be covering the 25 man heroic version, since that’s the most challenging version. We begin with the Northrend Beasts encounter: a fight that will test your gear, your threat, and your movement. As most of you are aware, this fight features three phases, each with their own difficulties.

First, a test of vitality.
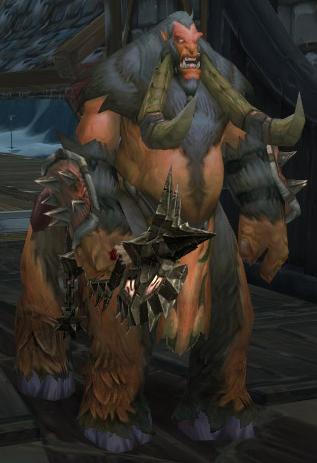
Gormok the Impaler will enter through the gates, and so begins the test of your effective health. There are a few abilities to keep in mind for Gormok. First, he hits hard. Second, he will cast Impale on you (Which is reduced by armor, so don’t forget armor in your effective health calculations). Third, he’ll be using Staggering Stomp to knock your ass down, preventing you from blocking for a few moments.
How do you deal with these nasty abilities? First off, you can use a two tank or a three tank rotation. I favor a three tank rotation, since it reduces the risk of a tank death, and three tanks can be helpful later on in the encounter. The next tank in the rotation should taunt as soon as the tank before them has two stacks of Impale (And the healers should be warned beforehand, so they can cook up some heals for the next tank). Glyph of Taunt can be a life saver here, since bad things will happen if you miss the taunt. Mocking Blow is a good back up, but not a guarantee by any means.
Keep an eye on the cooldown for Staggering Stomp. There is a big spike in damage right around the time that he stomps, since you can’t avoid the damage while you are standing up, and an Impale will be come in at about the same time. Blow a cooldown right before this happens. Shield Wall, Last Stand, or Juggernaut’s Vitality can really save your life here. Incidentally, I strongly recommend warriors to pick up Improved Disciplines and Glyph of Shield Wall for this fight.
After the boss goes down, call for a Hand of Protection to clean off Impale if you have 2+ stacks. Get ready for the worms.

Next, a test of dexterity.
There are two roles here for tanks. You can either be the mobile tank, or the immobile tank.
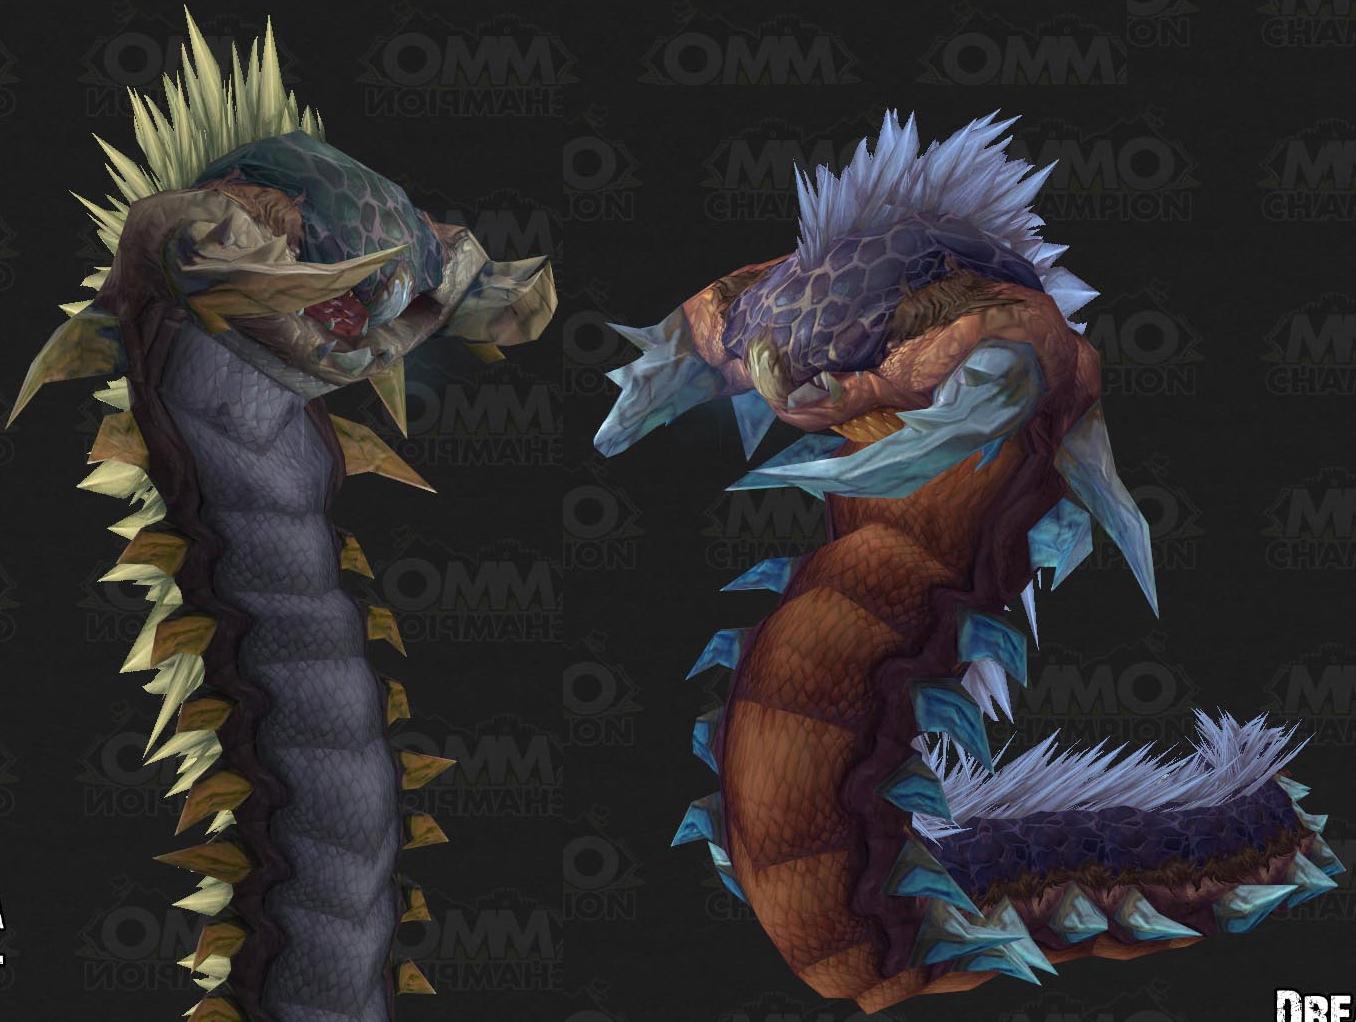
The immobile tank will tank the Jormungar that isn’t moving around, whichever one that is. The main goal here is to keep damage off your DPS and healers while they take down the boss. It really isn’t a hard job, but it’s helpful.
Two mobile tanks will take care of the moving Jormungar. If melee are attacking this mob, the tank needs to kite the boss away from the acid clouds they leave behind them. It is important to remember that the boss must never face the raid, as the breath they have can be devastating. Remember that for the mobile worm (and only for the mobile worm), the tank will always be the target for Burning Bile or Paralytic Toxin. As a result, the two tanks will need to switch off on taunting the boss the allow the other tank to either cleanse the raid, or be cleansed. After Acidmaw is dead, this responsibility is gone.
Speaking of Acidmaw dying, be ready for the soft enrage. The stationary boss won’t hit too much harder, but the mobile boss can become a real pain. Those Improved Disciplines and Glyph of Shield Wall will suddenly come in handy. Pop a Shield Wall when you pick the enraged mobile worm up. Right about the time that ends, throw on Last Stand. That will give you 30 seconds of easy tanking before the next tank needs to taunt off you and use their own cooldowns. Time to get ready for Icehowl!

Finally, a test of strength.
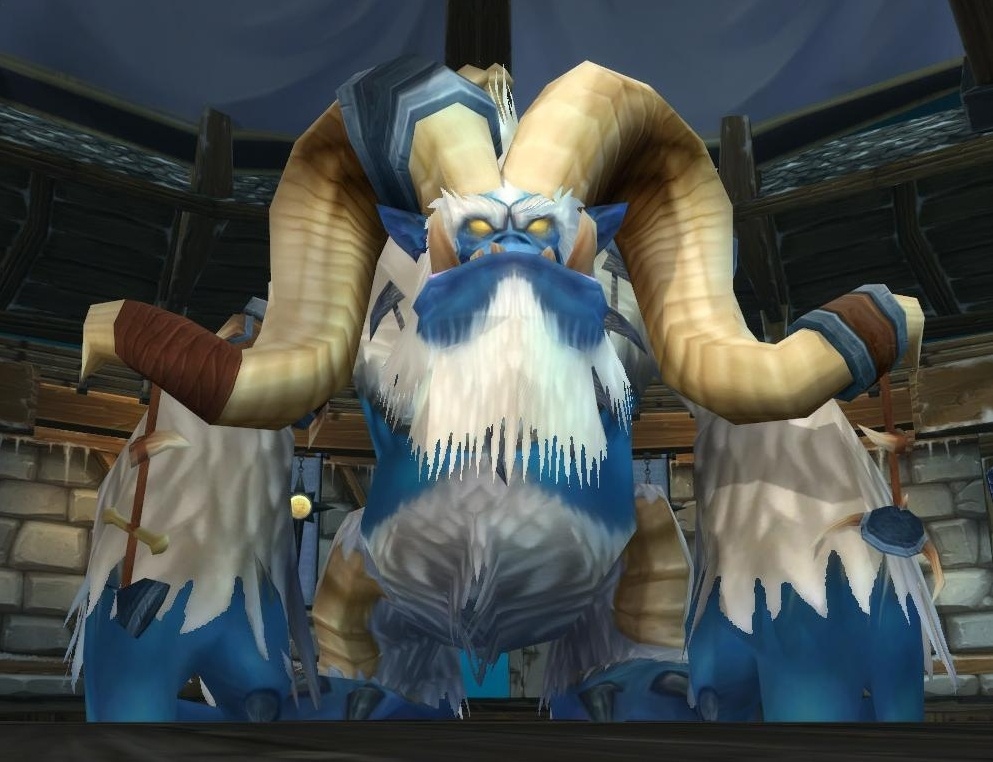
Now, Icehowl arrives. The first thing you should do is pick him up and move him toward a wall. You want to place yourself at about a 45º angle with him and the wall, so you won’t get knocked back much, but the melee can stand 90º around him to get the same benefit without being in his frontal arc. Icehowl does a lot of damage, but there isn’t much you can do to stop it. Take it like a man, and have any remaining cooldowns under your fingers for tense moments.
The main goal on Icehowl is to build threat. When Icehowl crashes into a wall (see WoWWiki for more on that ability) you need to keep aggro on him with DPSers doing massive damage. Warriors should save Bloodrage for this moment, to prevent rage starvation. Also, don’t forget that you can move Vigilance around in combat to micromanage threat.
On the next installment, I will cover how to tank Lord Jaraxxus. Be ready!


